

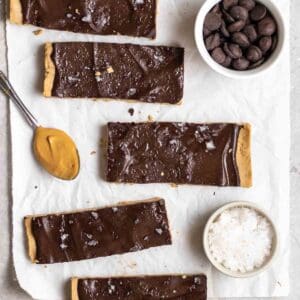
These chocolate peanut butter protein bars are soft, decadent, and taste like peanut butter cups! Packed with 15g of protein, it is perfect as a satisfying snack or healthy dessert.
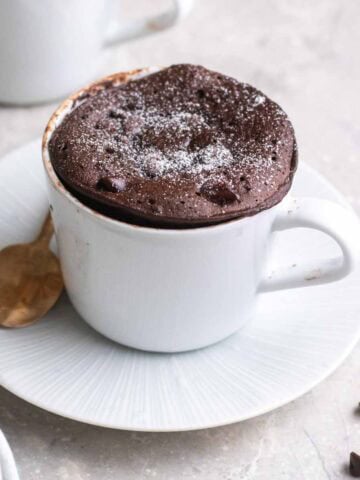
If you love high-protein desserts, be sure to check out my chocolate protein mug cake, vegan protein brownies, vegan protein muffins, or chocolate protein pudding!

Protein bars serve as a convenient grab-and-go option for me when life gets busy. However, store-bought ones are pricey, and most of them do not taste good and have a weird texture. This is what inspires me to make my own!
Like my oatmeal protein bars, vegan protein cookies, and vegan protein balls, these chocolate peanut butter protein bars are budget-friendly, easy to make, and most importantly, actually delicious.
Jump to:
💚Why you will love chocolate peanut butter protein bars
- A good source of protein - a serving contains a whopping 14g of protein!
- Chewy, sweet, and incredibly decadent
- An easy no-bake recipe that only calls for simple ingredients
- Naturally vegan and gluten-free
Save this recipe!
Also get a FREE high-protein vegan recipe eBook + weekly new recipes! Unsubscribe anytime.
🥜What you will need

- Oat flour - Easily make your own at home by blending oats in a high-speed blender or food processor. Make it gluten-free by using a certified gluten-free oat flour.
- Protein powder - Both whey and plant-based can be used. I am using Orgain's vanilla protein powder. You can also use peanut butter or chocolate-flavored protein powder.
- Maple syrup - I am opting for zero-sugar maple syrup to keep this recipe low sugar. Feel free to use other liquid sweeteners like agave or honey.
- Peanut butter - Use natural peanut butter with just peanuts and salt that are runny. Can be substituted with other nut butters like almond or cashew butter. Use sunflower seed butter or tahini to make this recipe nut-free.
- Chocolate chips - I am using Enjoy Life's dark chocolate morsels, but feel free to use your preferred chocolate chips/ chocolate bar.
- Coconut oil - Creates a smoother chocolate layer. Can be omitted or substituted with butter or vegan butter.
- Flaked sea salt - Optional topping for chocolate peanut butter protein bars. Enhances the flavor of these protein bars.
🔪How to make chocolate peanut butter protein bars
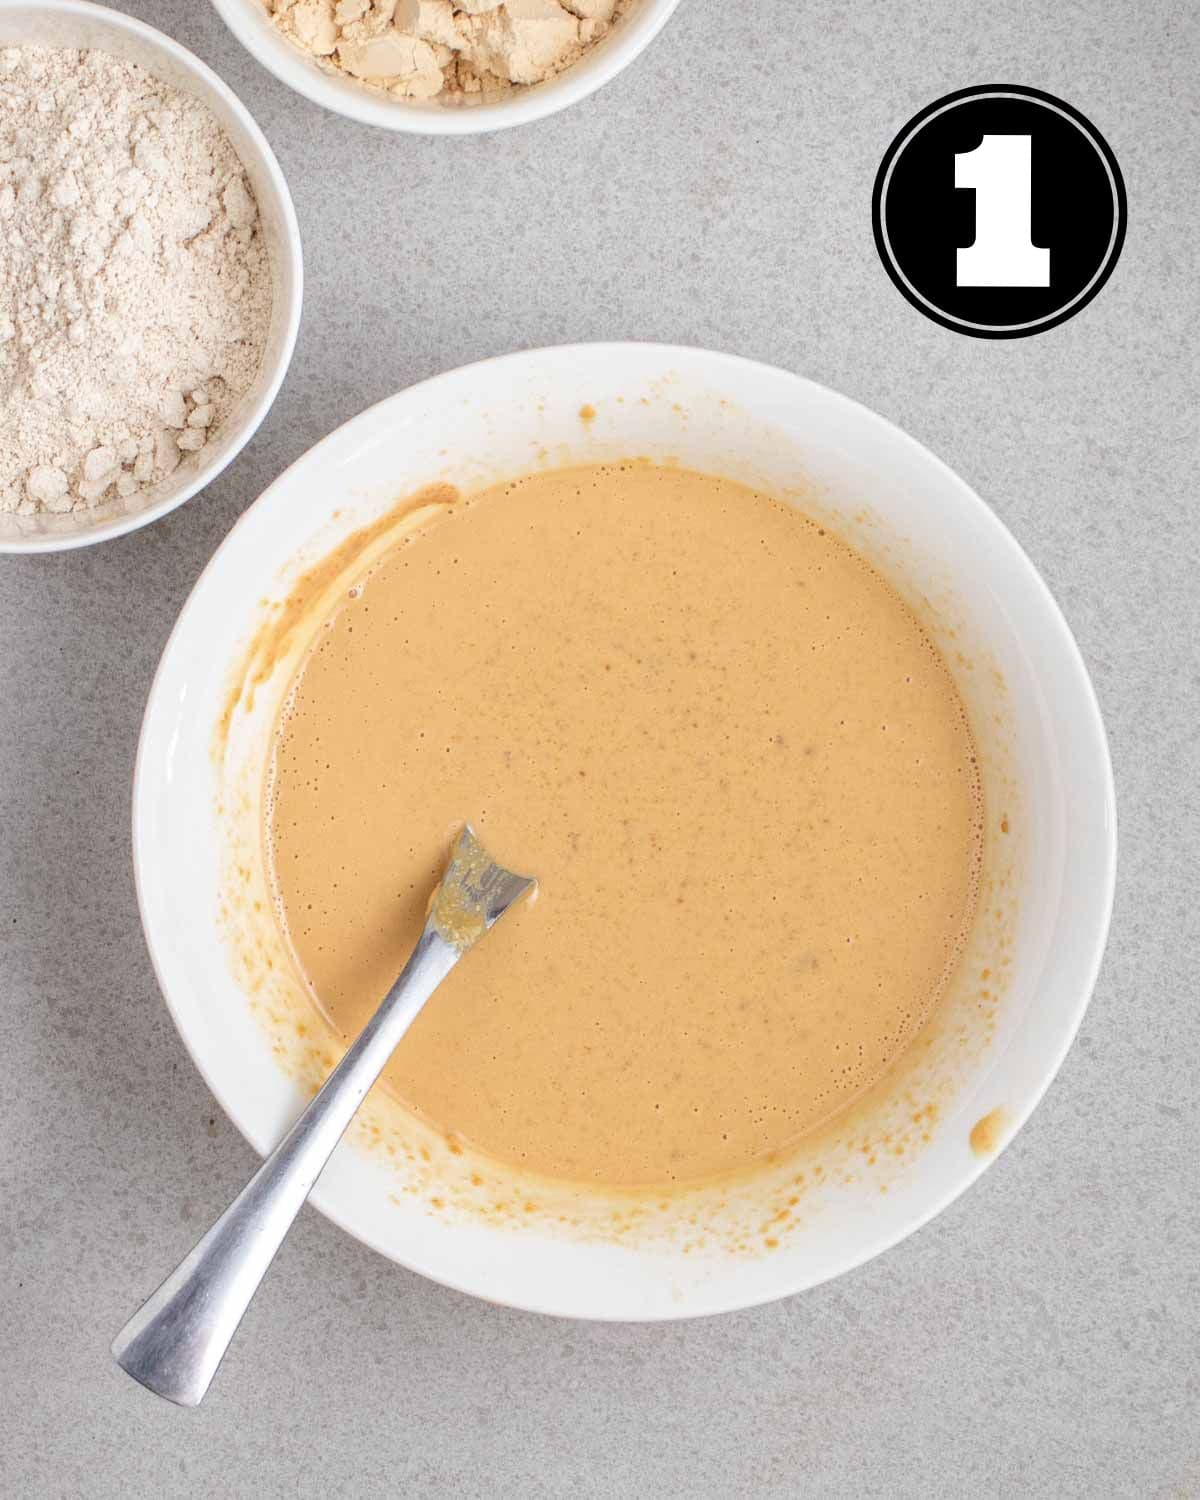
Step 1: Whisk together peanut butter, maple syrup, plant milk, and vanilla extract.

Step 2: Add oat flour, protein powder, and salt. Mix until a homogenous mixture forms.
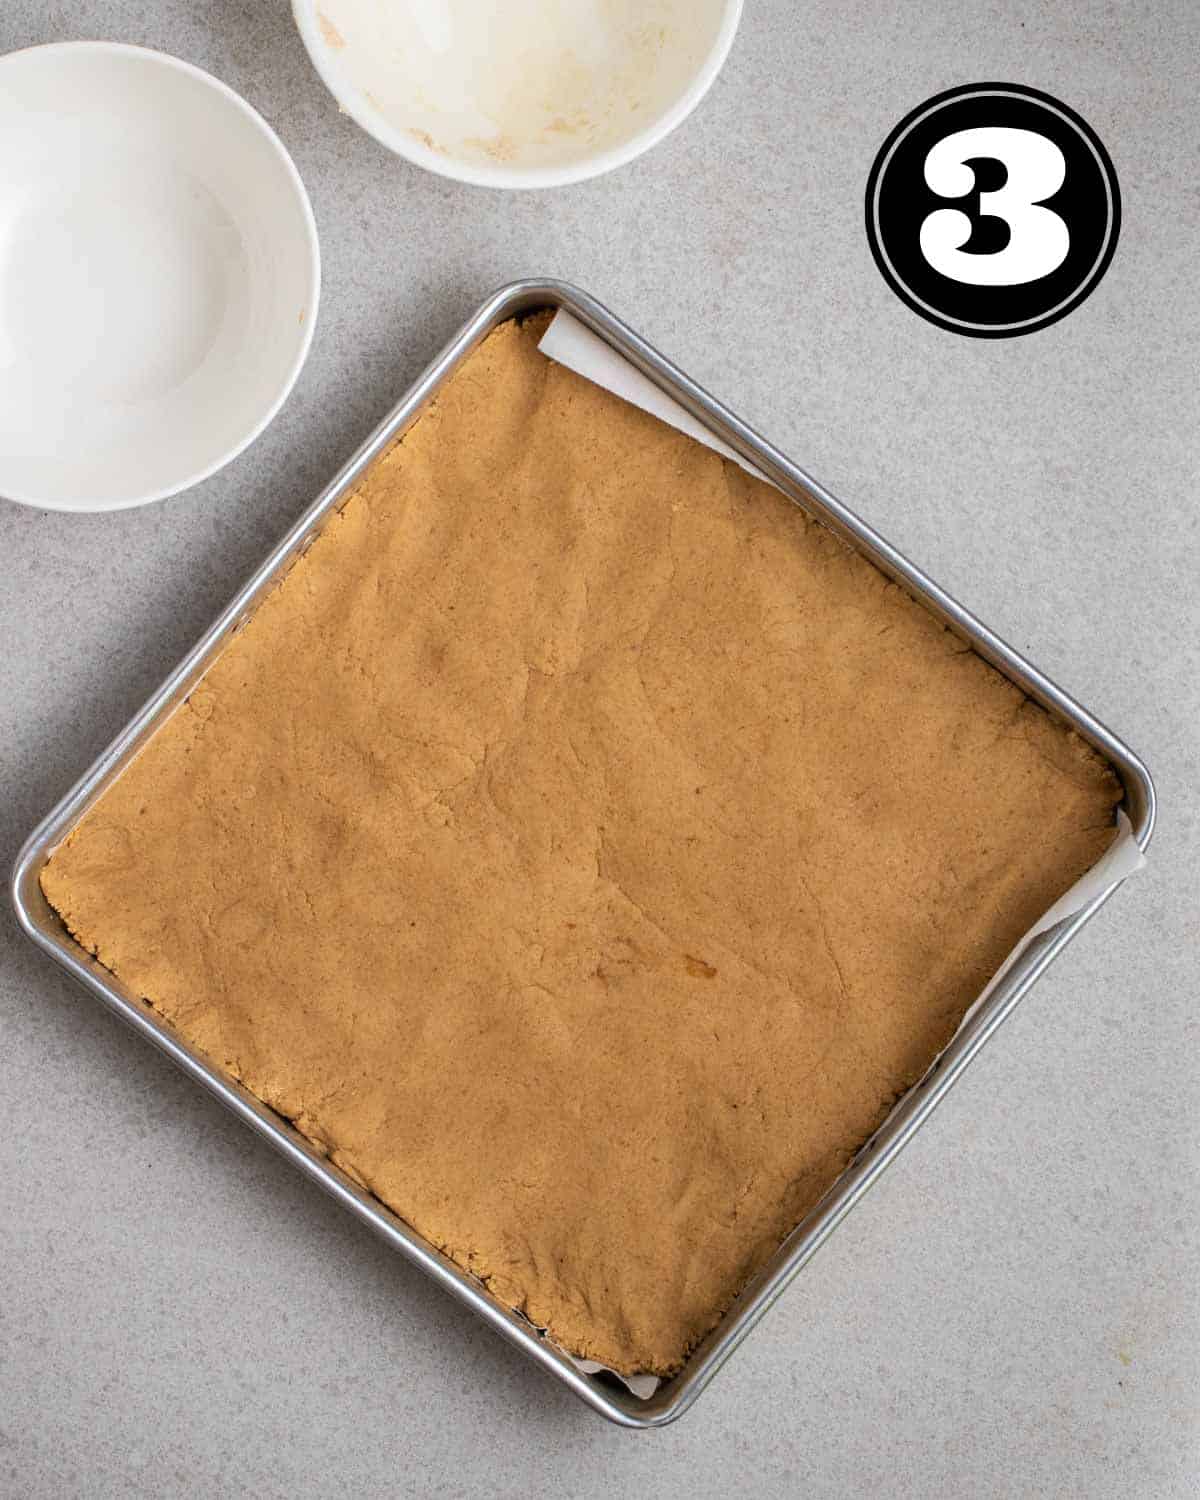
Step 3: Press the dough mixture firmly into a lined 9x9 baking pan.
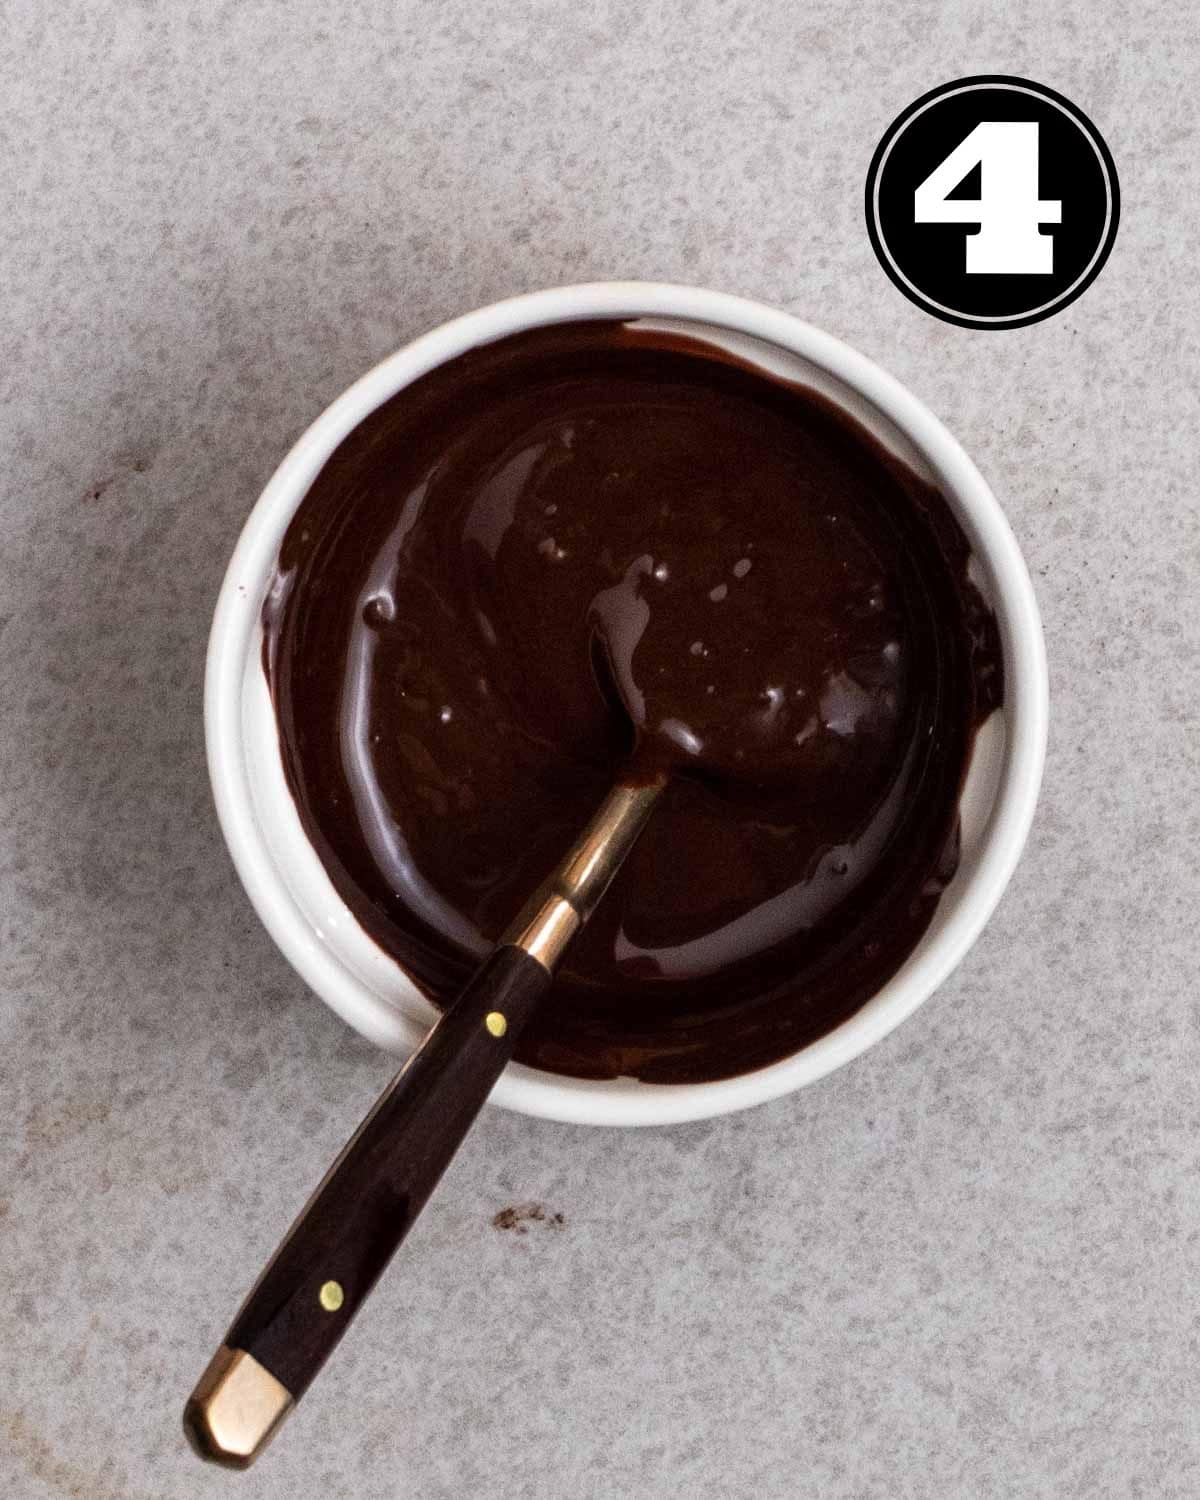
Step 4: : Add chocolate chips and coconut oil to a small bowl. Microwave at 30-second intervals until the chocolate has completely melted.
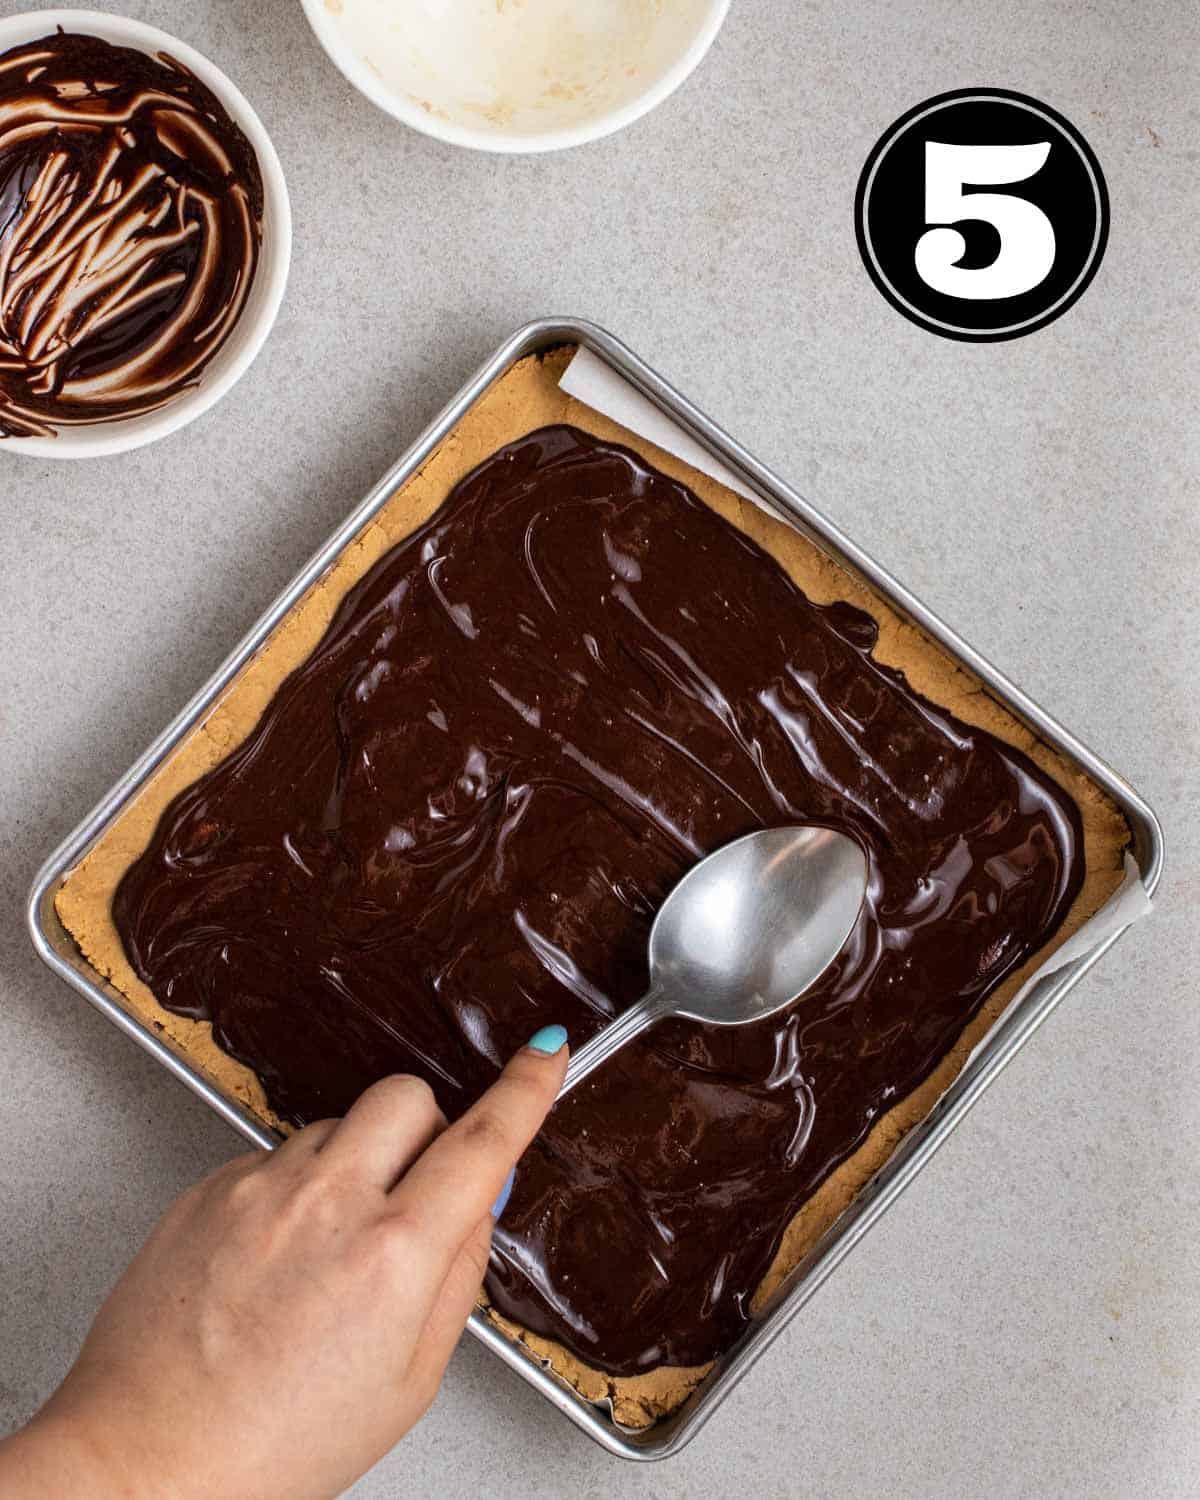
Step 5: Pour melted chocolate over the dough, spreading it out evenly using the back of a spoon.
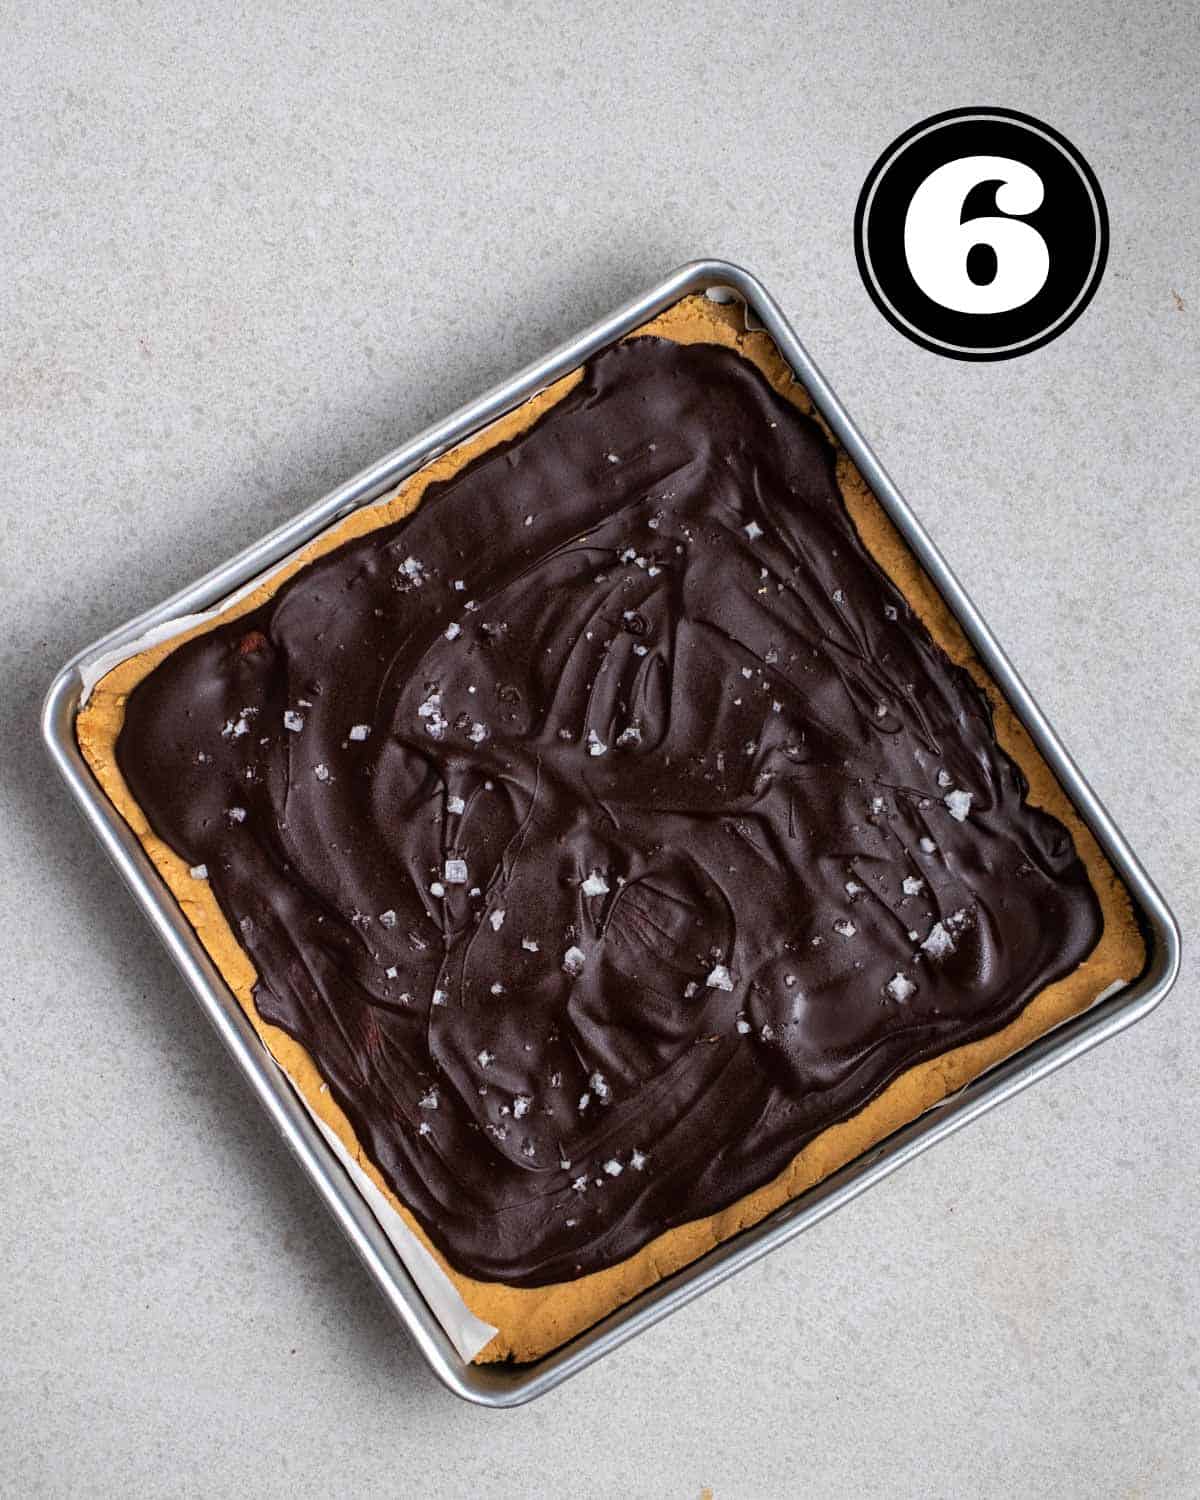
Step 6: Allow peanut butter chocolate protein bars to firm up in the freezer for at least 30 minutes before slicing and serving.
✔️Helpful tips
- Adjust the consistency of dough mixture - Dough should hold together but not overly sticky. If it is too crumbly, add more milk, a tablespoon at a time. The reverse is also true; so, do add more protein powder or flour if the mixture is overly sticky!
- Allow parchment paper to overhang - To easily remove protein bars from the pan. For more details, check out this post on how to create an overhang.
- Keep bars refrigerated - As this is a no-bake recipe, do keep bars in the fridge until ready to serve. They will turn soft after a while.
- Tips to slice protein bars cleanly - Run a sharp knife under hot water and wipe it dry beforehand to slice through protein bars cleanly. You will also want to wipe your knife clean between each cut.
❄️Storing suggestions
Fridge - Store peanut butter protein bars in an airtight container. They can be refrigerated up to a week.
Freezer - Protein bars can be frozen for 3 months. Store them in Ziplock bags before freezing. Allow them to thaw and soften for a few minutes outside before enjoying.


📖 Recipe
Chocolate Peanut Butter Protein Bars
Equipment
Ingredients
- 1 cup natural peanut butter
- ¼ cup zero sugar maple syrup or honey/maple syrup
- ¼ cup almond milk Or other plant-based/ dairy milk
- 1 teaspoon vanilla extract optional
- ⅔ cup oat flour
- 1 cup vanilla protein powder plant-based or whey*
- pinch of salt
- ½ cup chocolate chips
- 1 teaspoon coconut oil or another neutral-tasting oil
Instructions
- Start by lining a 9x9 baking pan or other similar-sized pans with parchment paper.
- Whisk together peanut butter, maple syrup, plant milk, and vanilla extract in a mixing bowl.1 cup natural peanut butter, ¼ cup zero sugar maple syrup, 1 teaspoon vanilla extract, ¼ cup almond milk
- Then, add the rest of the ingredients for the dough layer and mix until a dough forms. (You might need to use your hands in the end as the dough is quite dry)⅔ cup oat flour , pinch of salt, 1 cup vanilla protein powder
- Gently press the dough into the lined pan.
- Combine chocolate chips and coconut oil in a microwave-safe bowl, and microwave in 30-seconds intervals until the chocolate is completely melted.½ cup chocolate chips, 1 teaspoon coconut oil
- Pour melted chocolate over the dough layer. Spread the chocolate into an even layer using the back of a spoon.
- Let chocolate peanut butter protein bars firm up in the fridge for at least 30 minutes before slicing and serving.
Notes
- Adjust the consistency of dough mixture - Dough should hold together but not overly sticky. If it is too crumbly, add more milk, a tablespoon at a time. The reverse is also true; so, do add more protein powder or flour if the mixture is overly sticky!
- Keep bars refrigerated - As this is a no-bake recipe, do keep bars in the fridge until ready to serve. They will turn soft after a while.
- Tips to slice protein bars cleanly - Run a sharp knife under hot water and wipe it dry beforehand to slice through protein bars cleanly. You will also want to wipe your knife clean between each cut.
Save this recipe!
Also get a FREE high-protein vegan recipe eBook + weekly new recipes! Unsubscribe anytime.
Nutrition
Nutrition info calculated is just a rough estimate and is provided as a courtesy. Bear in mind that value will vary based on variables like specific brand or type of product used. To obtain the most accurate representation, it is highly recommended that you calculate it on your own with the actual amount and type of ingredient used.


Annie says
These are amazing!!! YUMMY!